Not sure what you call it these days, as the whole point of the exercise was to get the bike up and running again so that it is mechanically sound, and try and smarten things up as best as you can on a restrictive budget.
Whether this is this trying to maintain patina, a sympathetic resto or just plain tarting it up as we called it back in the day (probably politically incorrect these days!!) Im not sure and to be honest dont care lol.
Apart from trying to get all the parts to do the rebuild, this part was the most time consuming even though it was just to quote tarting up.
Radiator
Not the best example in the world I must admit, however, this was de-greased & its paint removed to reveal a number of issues, such as, bent & blocked (blocked with what looked like a build up of oily road dirt) Radiator Fins, some general corrosion & a broken/corroded Bracket to be sorted as follows:
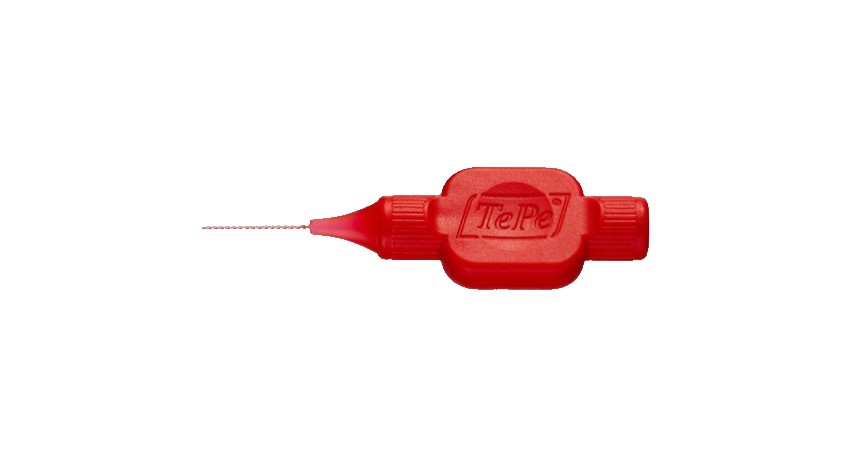
- The bent & blocked Radiator Fins were cleared & straightened using an Interdental Tooth Brush, which was just the right size & looked/worked like they were designed for this job in mind;
Paint Stripper & a soft Brush removed the paint from the Inlet/Outlet Tanks & the whole Radiator was degreased/cleaned several times to make sure everything was ready for respraying;
Before re-spraying, a Bracket had to be fabricated & glued on using an Epoxy Glue. I had taken it to my local Engineer to have the Bracket welded on, but was told the Aluminium was a bit too thin & gluing the Bracket would be a safer bet to maintain the integrity of the Radiator;
The Radiator was treated to some Radiator Flush & flushed out with clean water several times just to make sure it was clear of any blockages;
The bottom outlet of the Radiator Tank was sealed & the Radiator filled with water & left for several hours to make sure there were no leaks;
The whole Radiator was then re-sprayed with Hammerite Black Smooth paint.
Unfortunately, I forgot to take/lost any photos of the finished Radiator, but it came up looking very good & certainly light years better than before.

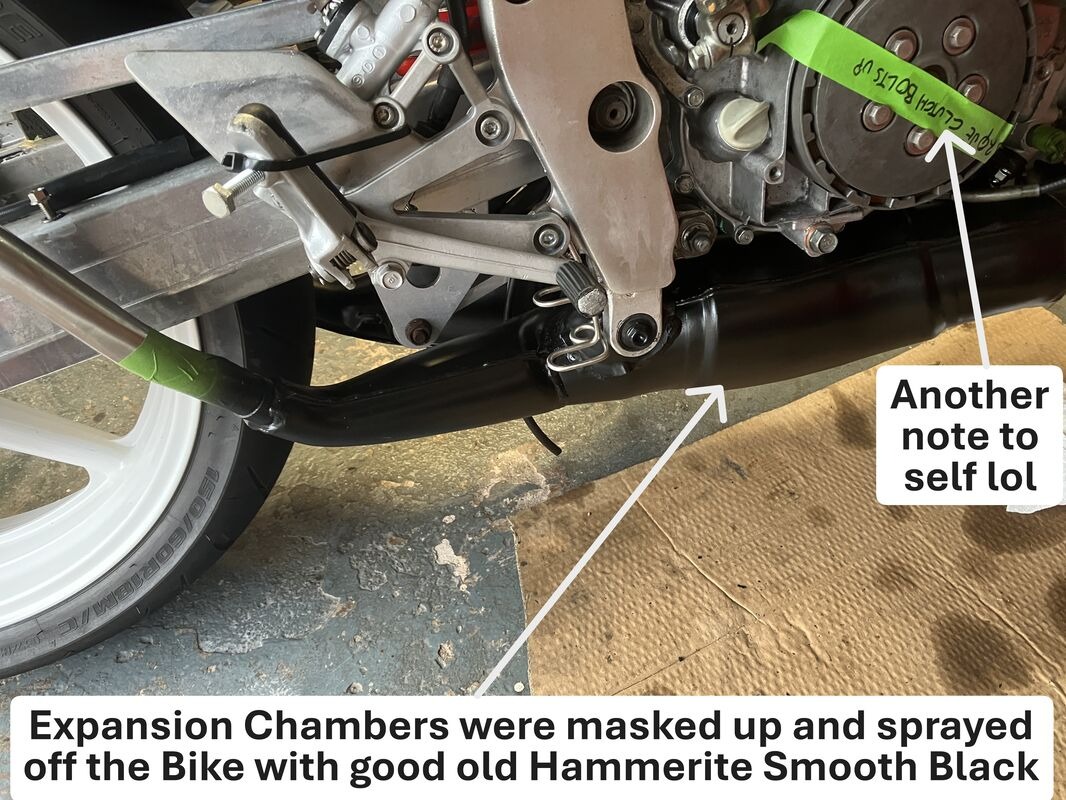
Expansion Chambers
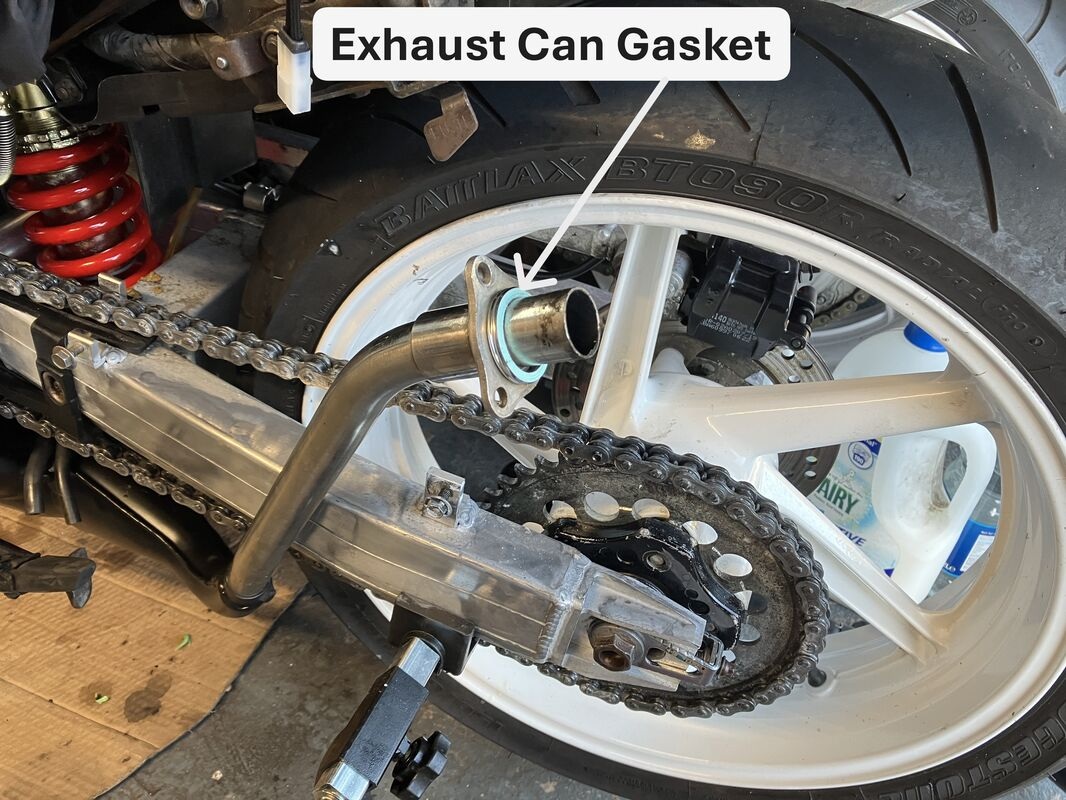
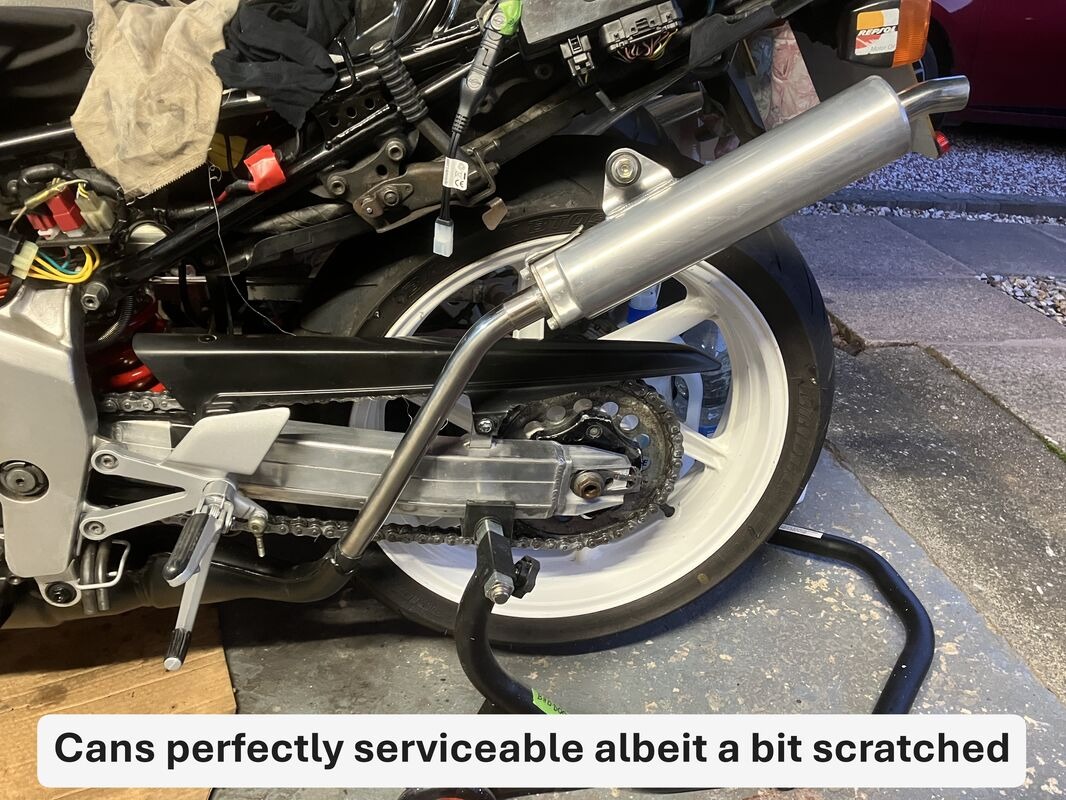
These were cleaned, de-rusted as far as it is possible & treated to a bit of Black Smooth Hammerite whilst off the Bike. The Rear Cans were removed and put on a polisher and then reattached with new Gaskets.